How to Make a Disney Countdown Board that Kids will LOVE
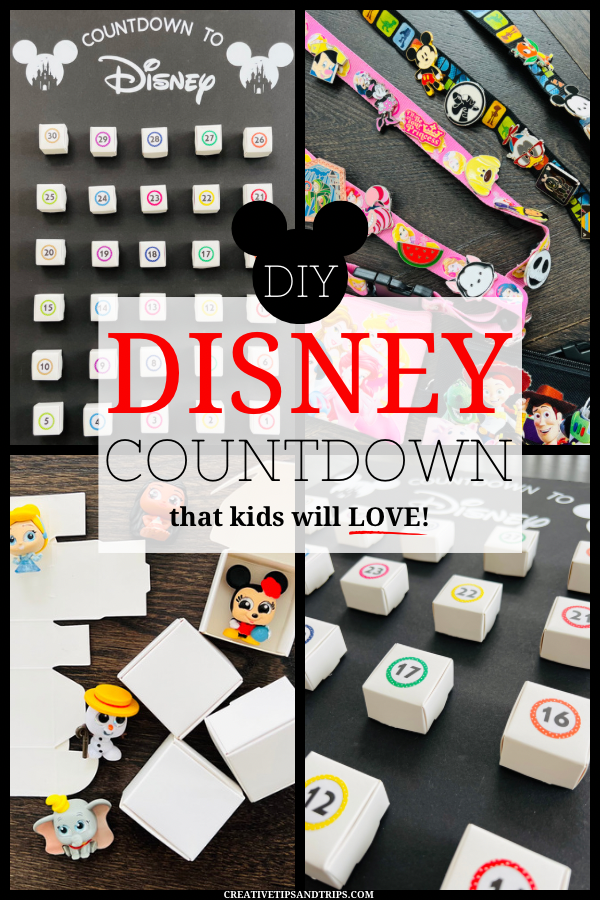

When I was planning my children’s first trip to Disney (ages 3 and 5), I knew a Disney countdown calendar was a must! There are tons of great ideas out there, but I wanted something that was really going to get my kids pumped for our trip. I decided to make a countdown board of mystery boxes filled with adorable little Disney goodies for them to open each day. It was super easy to put this board together and my kids LOVED it! I ended up making one for each of them and they were both so excited.
Here are step by step instructions on how to make your own Disney countdown board.
Supplies
All supplies can be purchased from Amazon, Target, Michaels or other craft store
- 20 x 30 inch sheet of foam board
- 1.5 inch (or similar size) boxes
- Number stickers
- Letter stickers and/or vinyl decals for heading
- Hot glue gun and glue sticks
- Disney goodies to fill boxes (see my fun ideas below!)
- Optional embellishments: Disney stickers, gems, etc.
Instructions
1. Assemble boxes
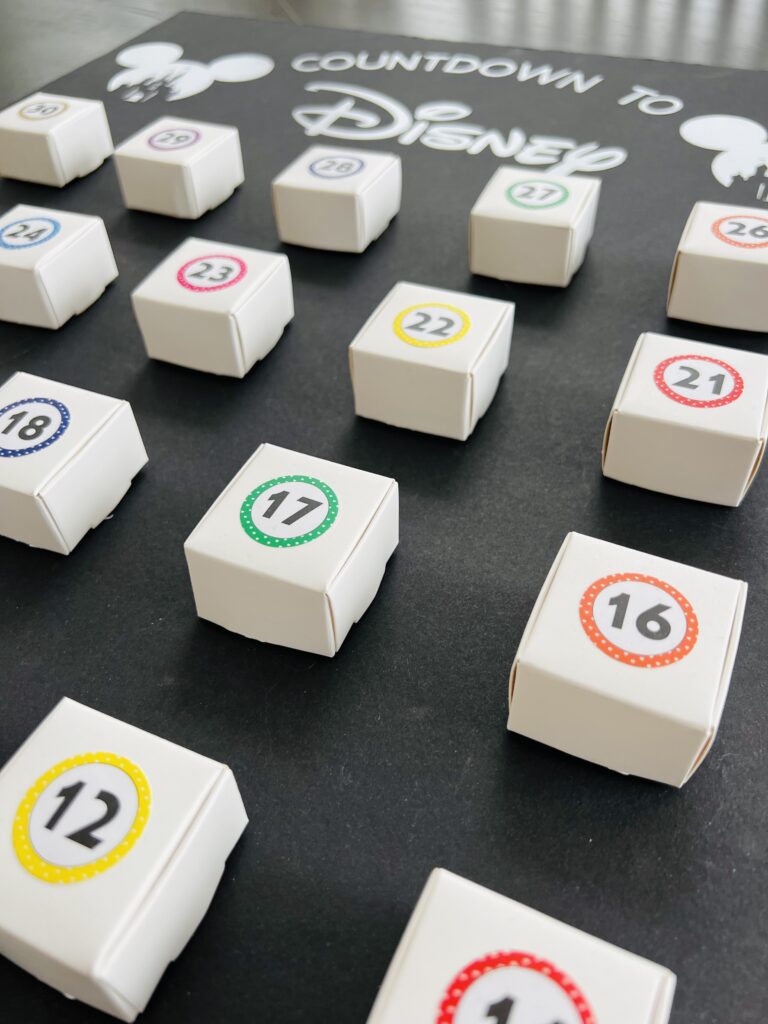
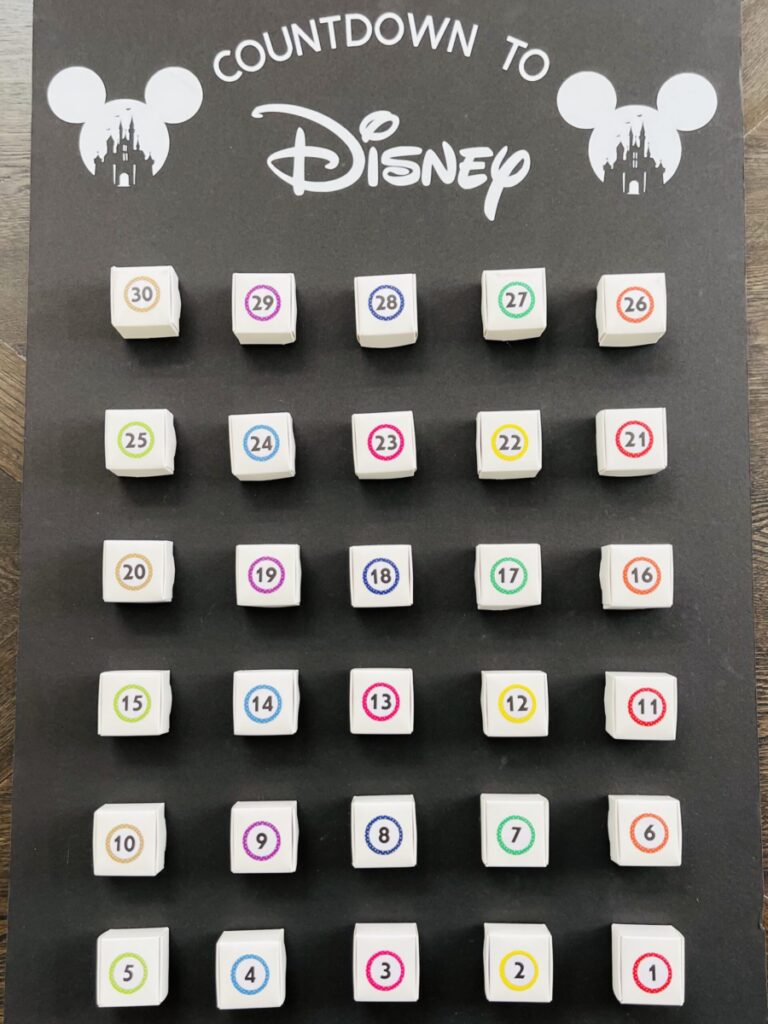
For this 30 day countdown, I assembled 30 boxes and organized them into 6 even rows with 5 boxes in each row. You can do more if you want a longer countdown, just make sure there is room on your board for all of the boxes or use multiple boards.
2. Number the boxes
Use the number stickers to number the boxes. Since this is a countdown, the highest number will be in the upper left corner and will count down to 1 in the lower right corner. The number on the box will be the number of days left until your vacation. You will open the last box (number 1) the day before you leave!
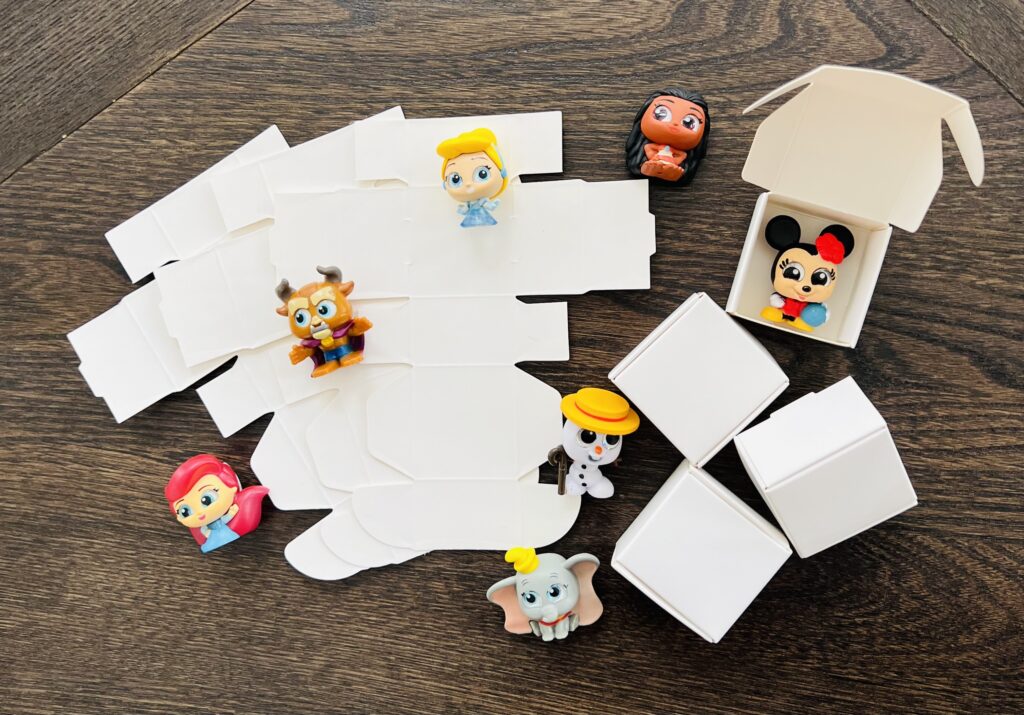
3. Fill the boxes
You can fill the boxes with whatever small goodies you would like your children to have as a daily treat during your countdown to Disney.
Here are a few suggestions:
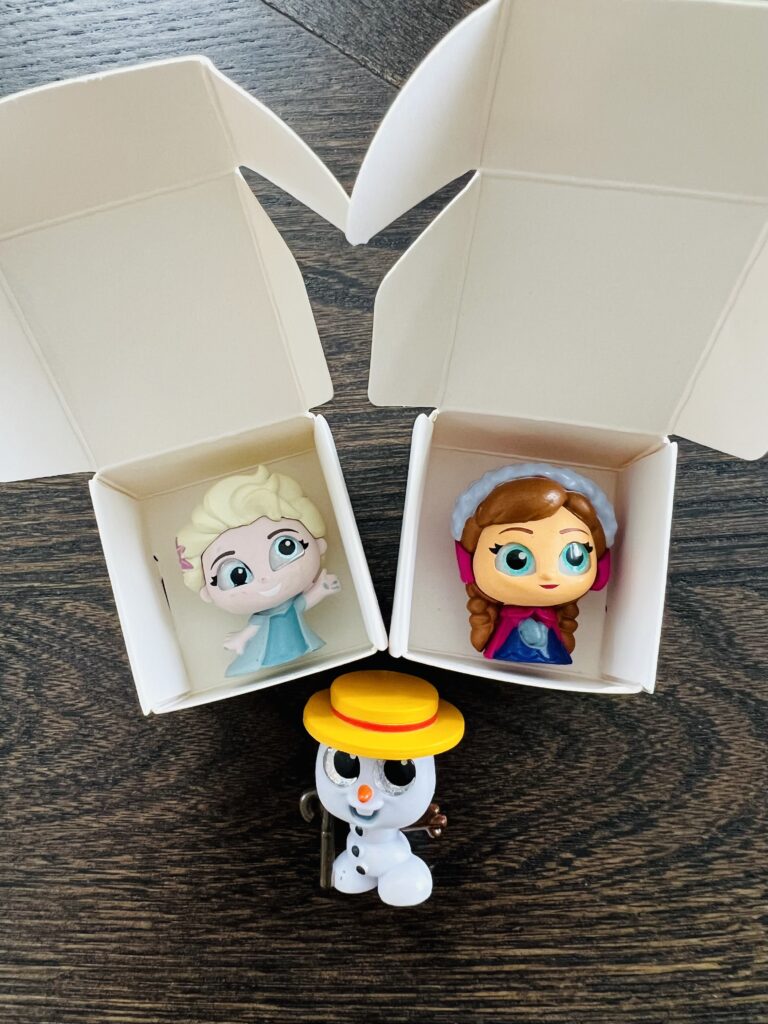
- Disney Doorables These little figures are super cute and fit perfectly in the boxes! They are sold in assorted mystery packs. You can purchase them from Target and Amazon.
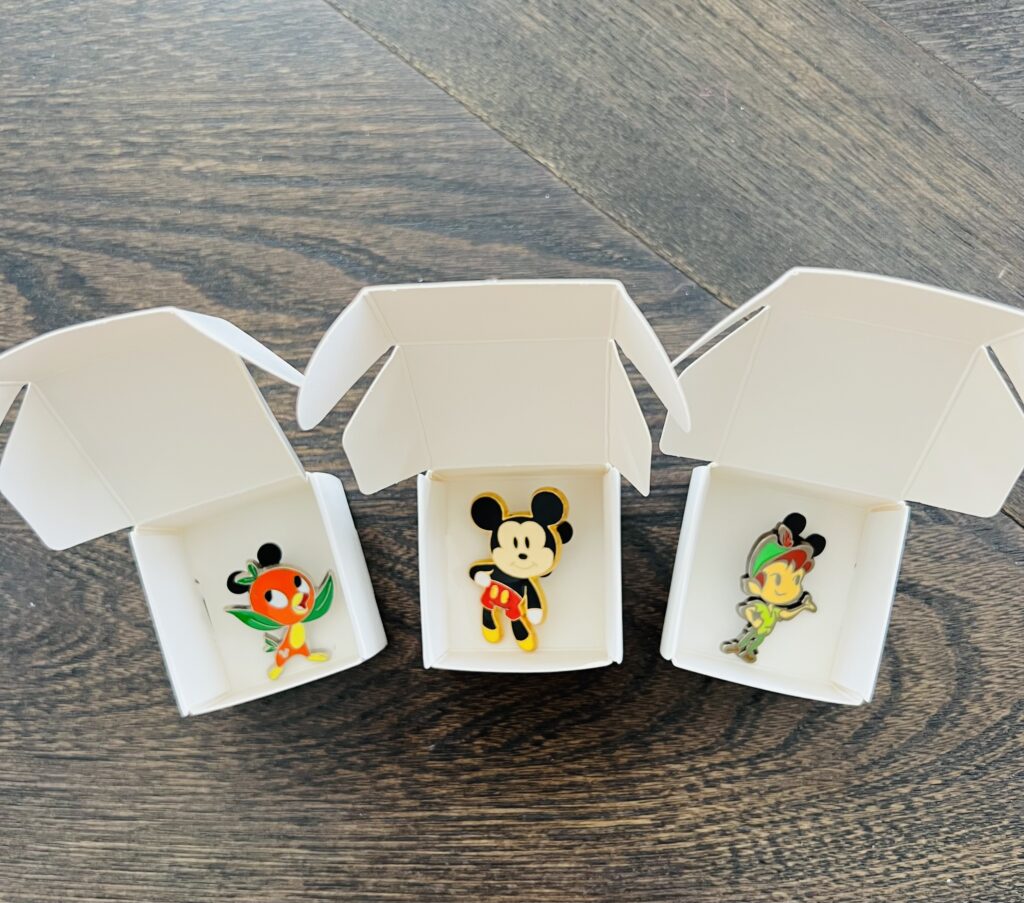
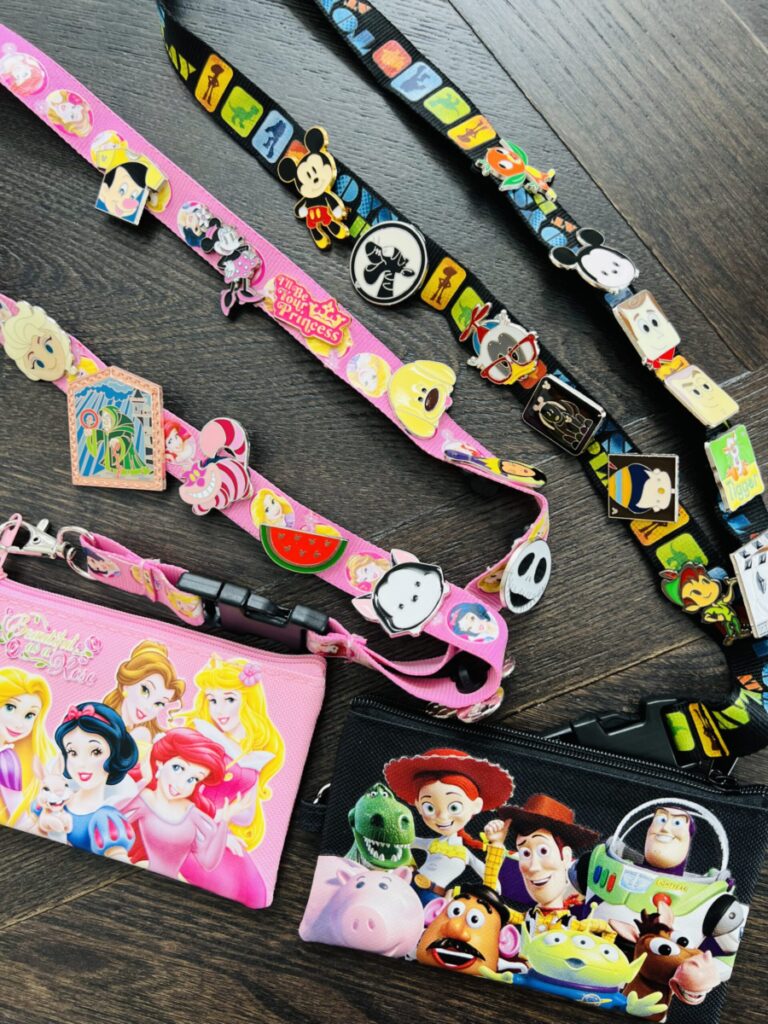
- Disney trading pins These are perfect to include in your countdown board if you plan on doing any pin trading on your vacation. You’ll save money by buying them in bulk ahead of time. I bought a 50 pack on Etsy.
- Shoe charms Filling the boxes with some Mickey and friends shoe charms was perfect to jazz up my kids’ Crocs to wear to the parks. You can buy them on Amazon.
4. Glue boxes to board
Lay the boxes out evenly on the board, leaving enough space at the top of the board for the header. Make sure that all the boxes are facing the same direction. Then hot glue them in place.
5. Add heading to the board
Next, add the Countdown to Disney heading to your board. You can either spell it out with letter stickers or use a vinyl decal. I used my Cricut machine to make my own vinyl decal. If you don’t have a Cricut, you can always order a custom vinyl decal from Etsy or just grab some letter stickers from your local craft store.
6. Add embellishments
I decided to keep the design of my board simple and clean with only the two decals on either side of the heading. If you want to jazz it up a bit you can add Disney character stickers, gems, or a border around the board. I also think it would be super cute to personalize your board by adding your last name or child’s name to the board.
That’s it, all done!
I hope your children enjoy this fun countdown as much as mine did! Happy crafting and have a magical Disney family vacation!

Comment below and let me know what goodies you put in your Disney countdown boxes!
You May Also Like
2 Comments
Pingback:
Pingback: